


Rugged Radios
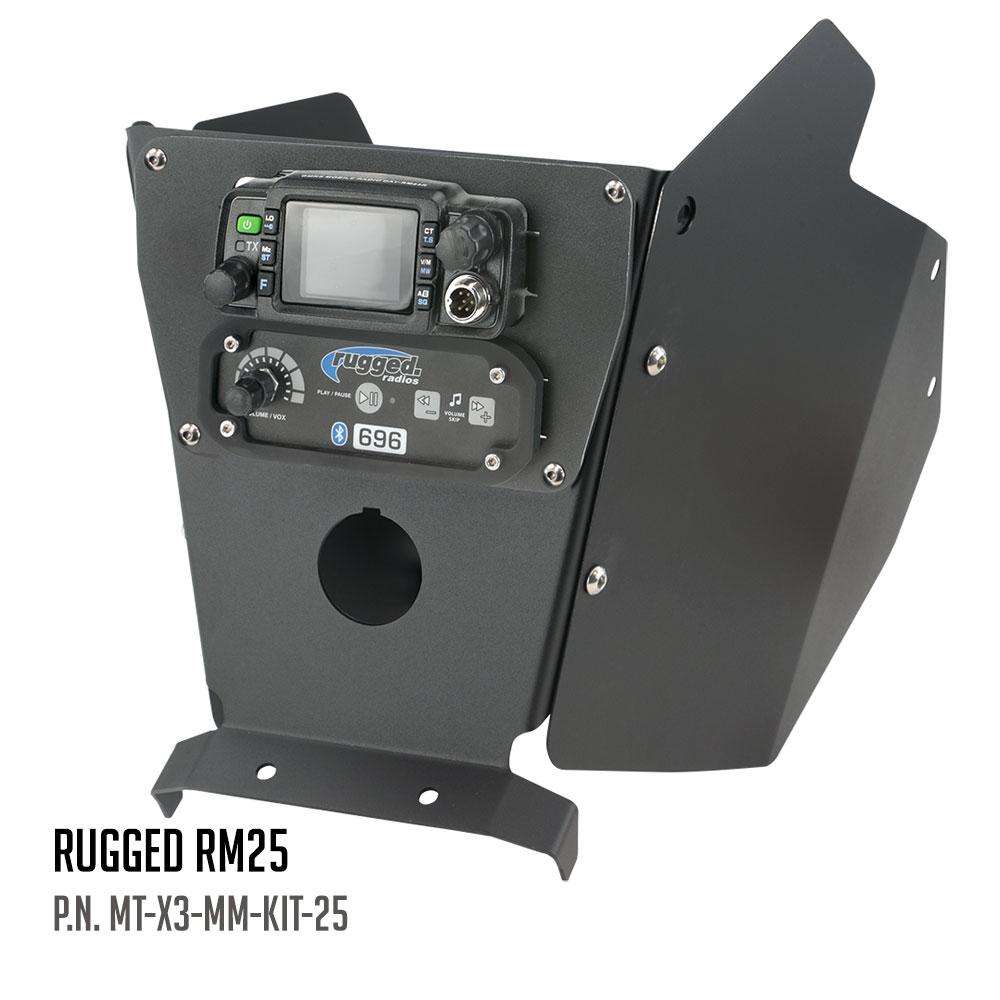
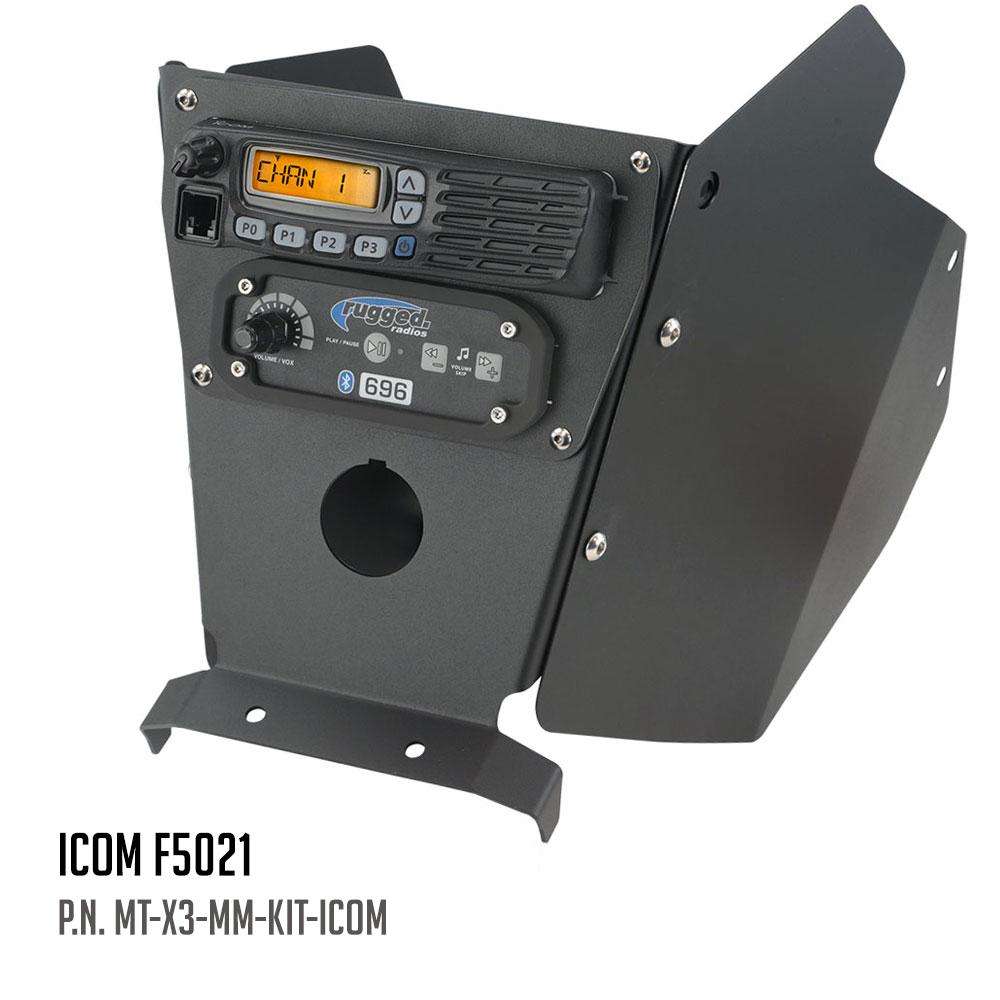
Can-Am X3 Mounting Kit with Multi Mount and Side Panels
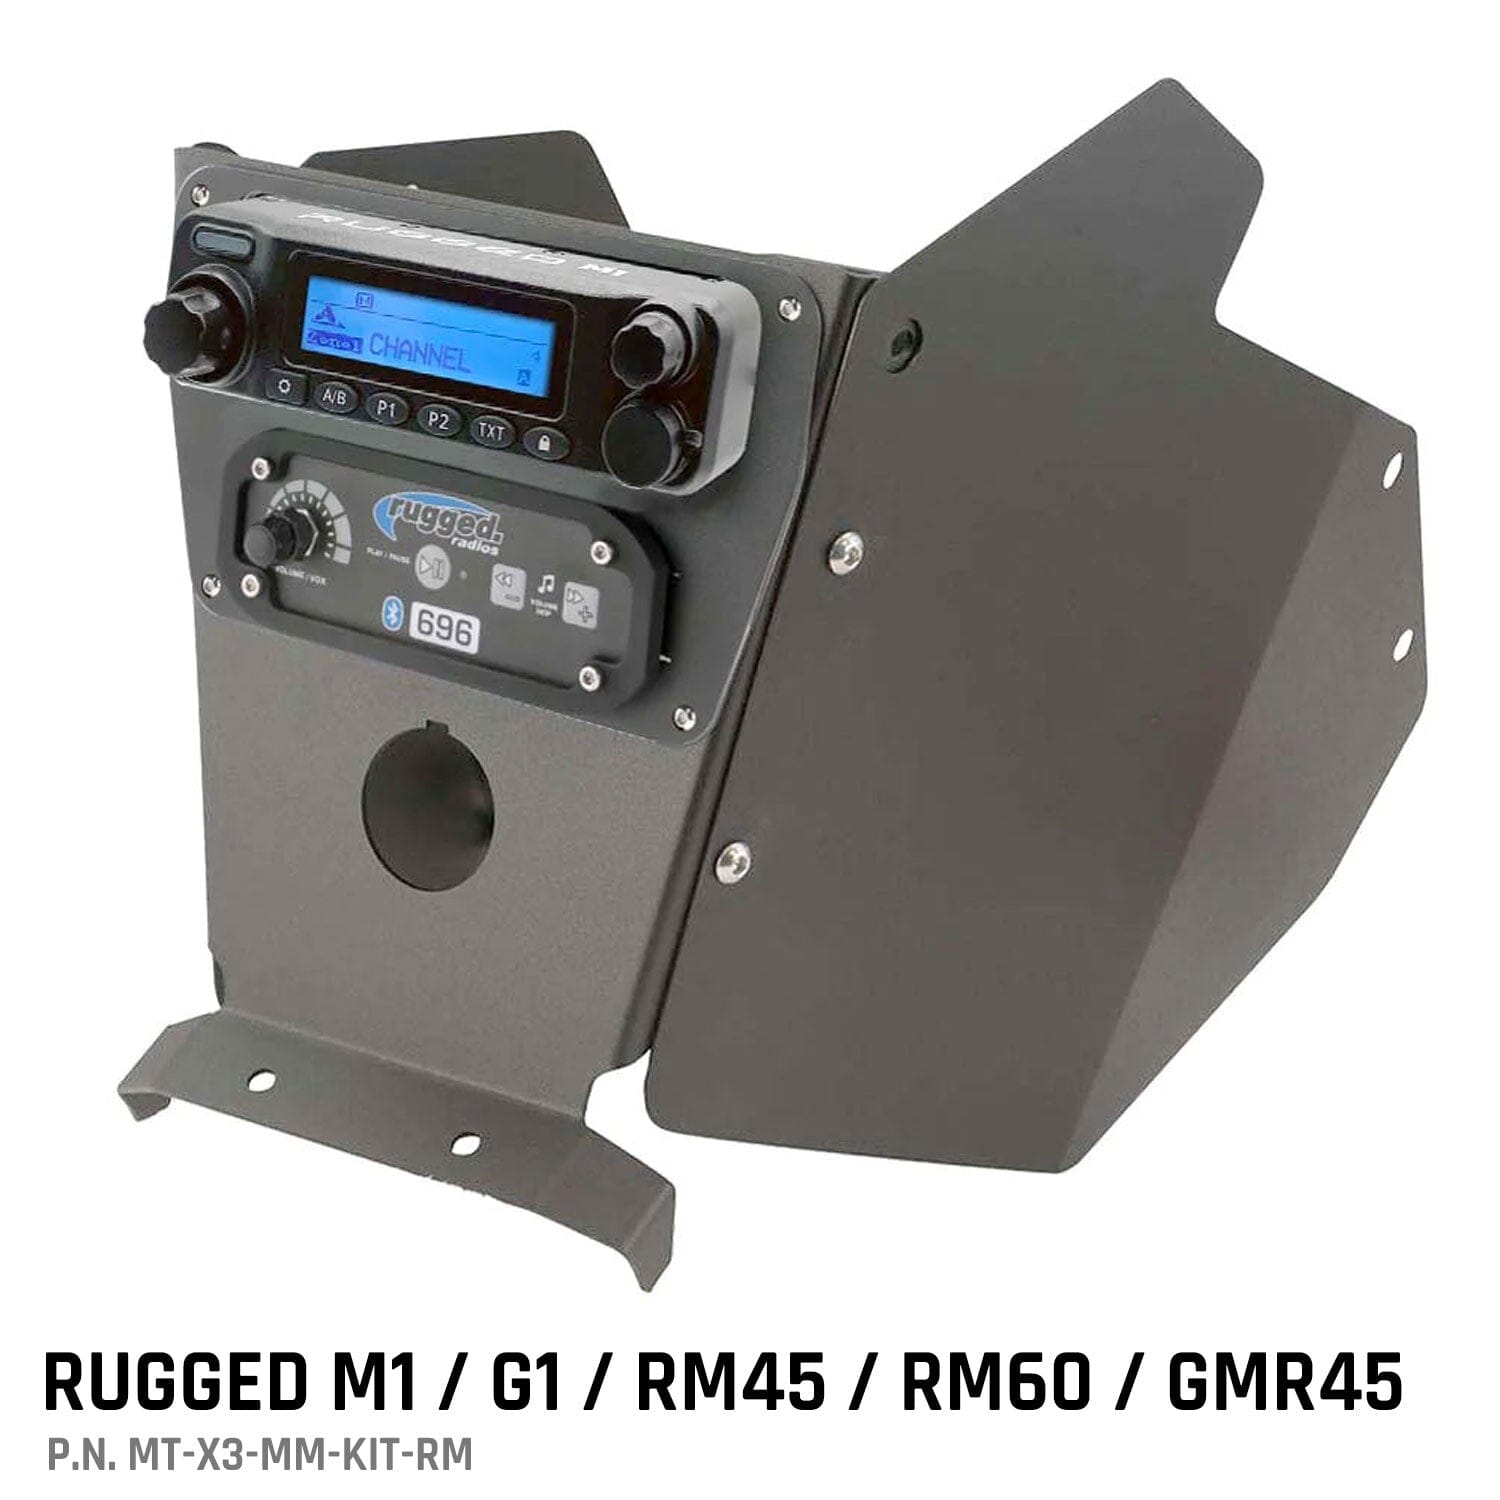
Radio:Rugged M1/G1/RM45/RM60/GMR45
Quantity:
Pickup available at 1173 N Kraemer Pl
Usually ready in 24 hours
Can-Am X3 Mounting Kit with Multi Mount and Side Panels
Rugged M1/G1/RM45/RM60/GMR45
1173 N Kraemer Pl
Pickup available, usually ready in 24 hours
1173 N Kraemer Pl
Anaheim CA 92806
United States
Choose options
Radio:Rugged M1/G1/RM45/RM60/GMR45
Quantity:
Radio:Rugged M1/G1/RM45/RM60/GMR45
Quantity:
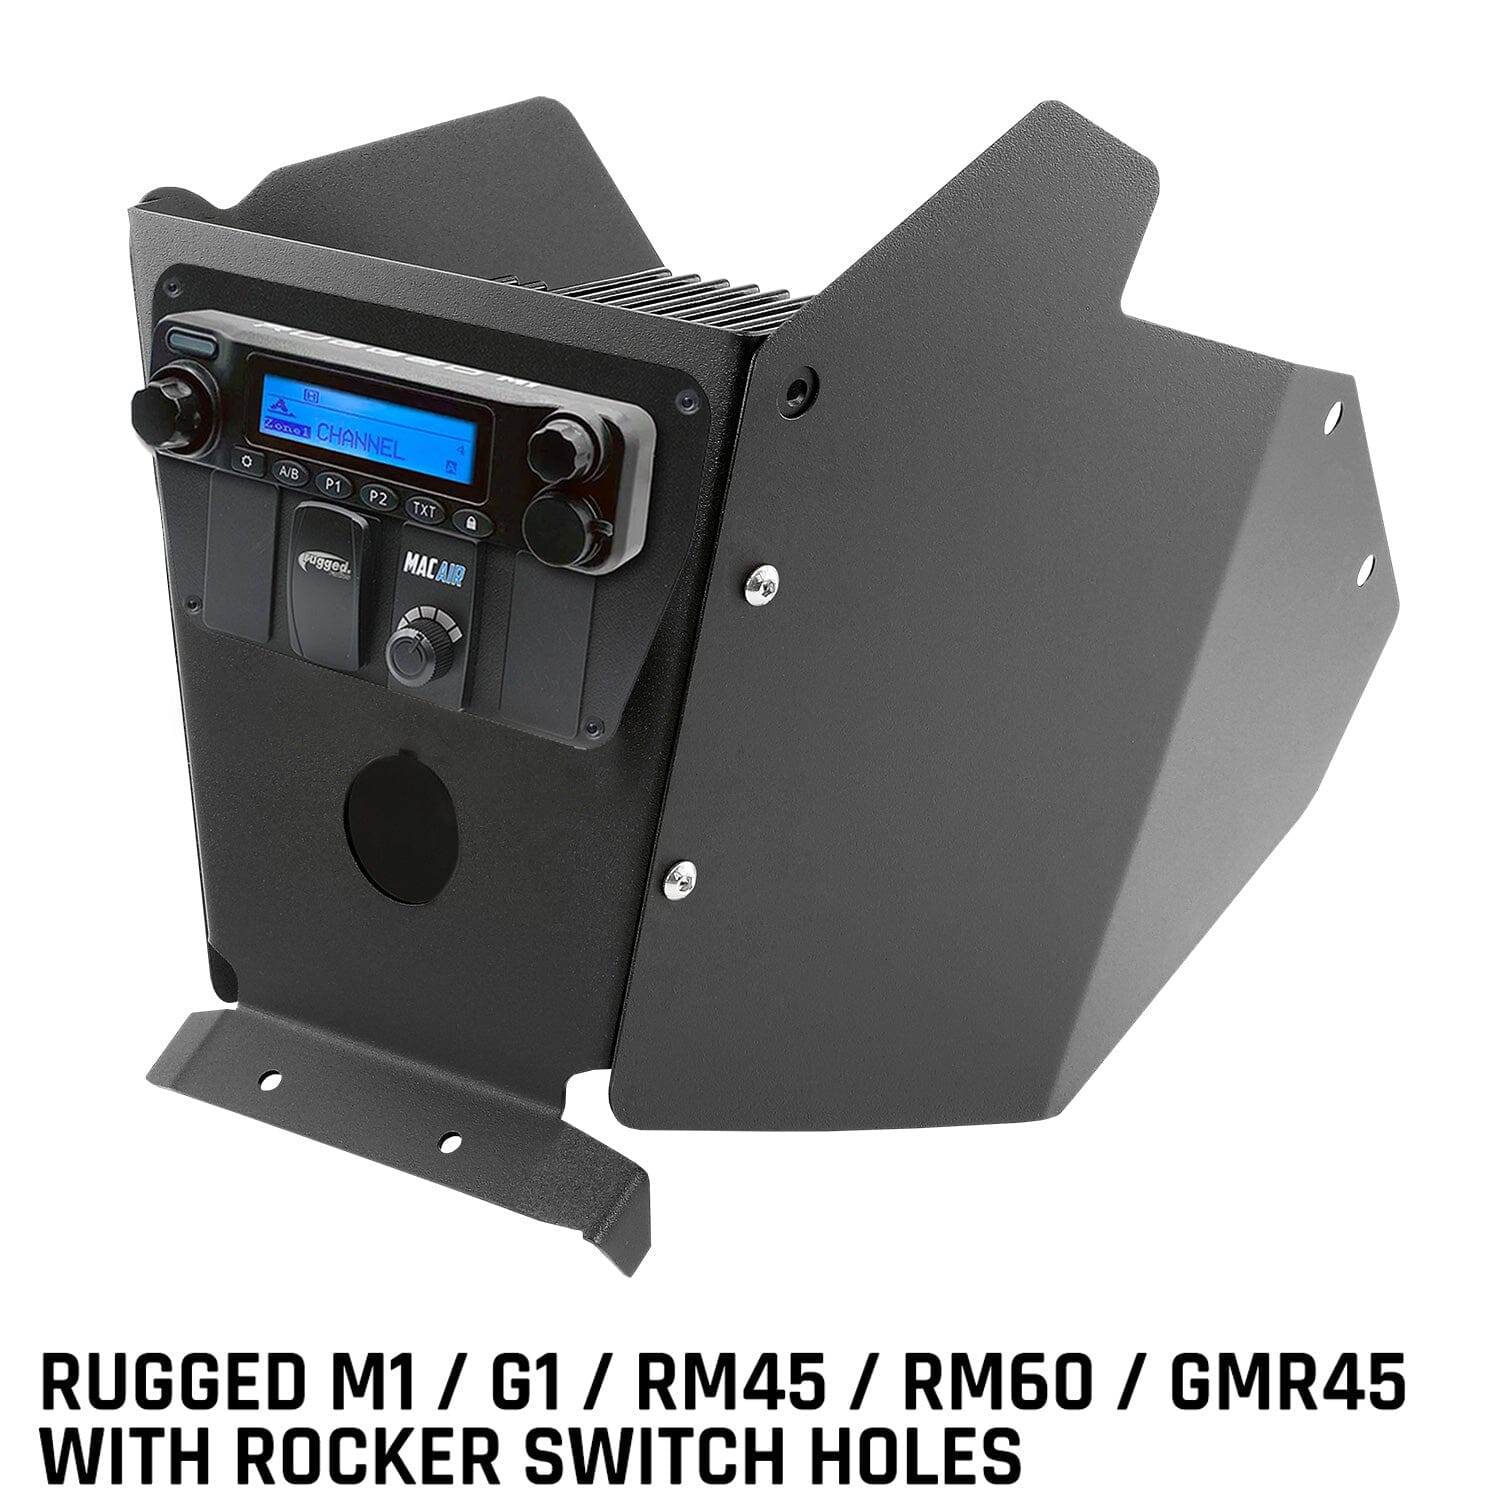
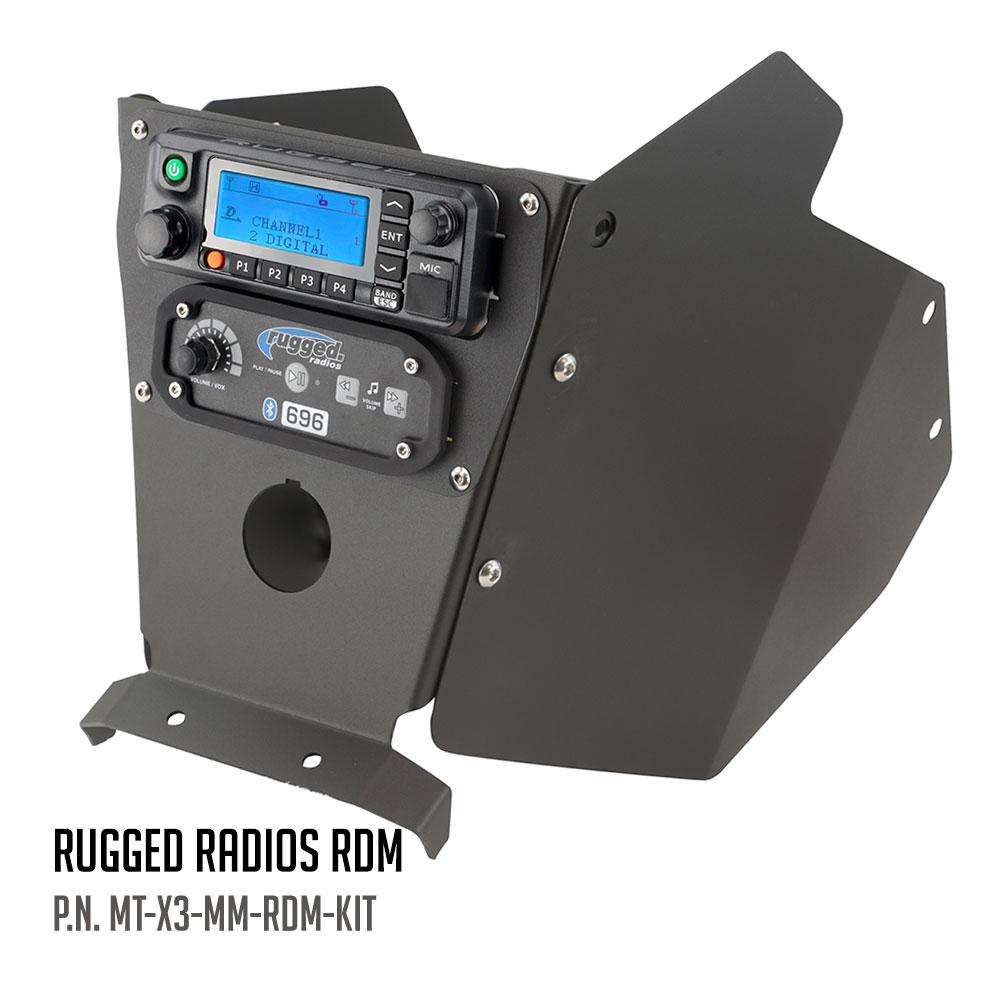
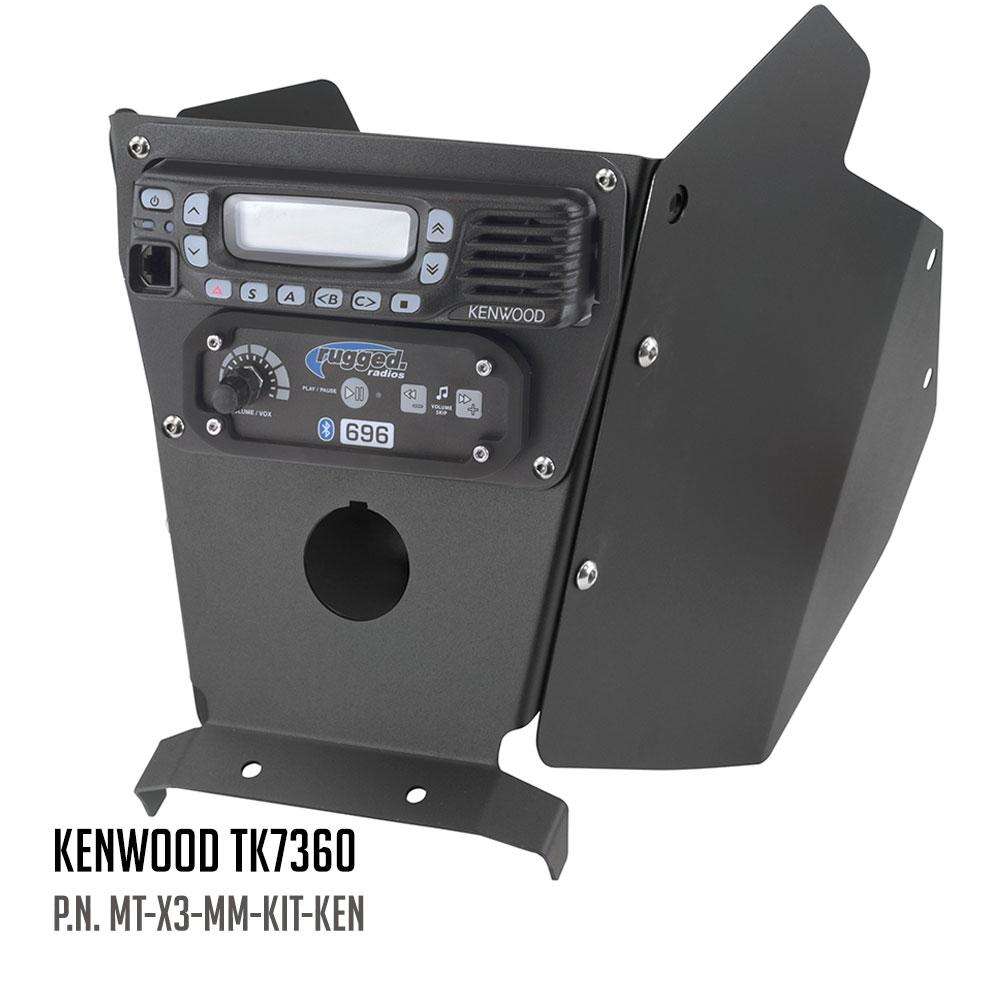
The CanAm X3 Multi-Mount XL System provides a simple and clean installation for your Two-way mobile radio and Rugged intercom system.
Installation is easy!
- Apply the cut template to your center console
- Cut along the dotted lines using a utility knife
- Remove the lower portion
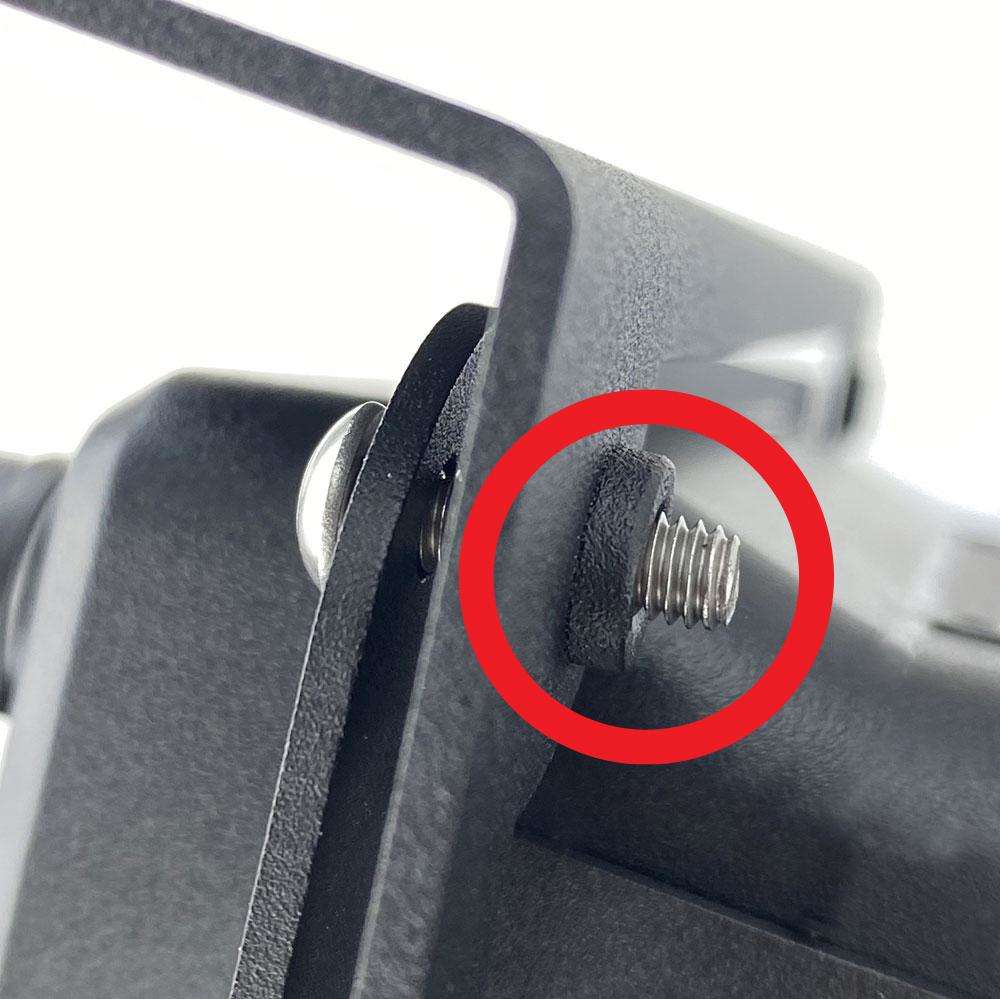
- The Multi-Mount plate slips right into its place and is secured with the included two bolts at the top and the factory two bolts at the bottom.
- Load the Two-way radio and intercom into the insert
- Slide the insert into the mount and secure with the included 4 screws.
- Side panels attach to the mount with two screws and two plastic push pins